In unexpected situations, such as getting lost in the wilderness or experiencing a power outage, having the ability to cook food can be crucial for survival. While many people may not carry a portable stove with them at all times, there are simple and effective ways to create an emergency stove using common household items.
In this easy-to-follow guide, we’ll walk you through how to make an emergency stove from scratch, using materials you likely already have on hand. Whether you’re camping, hiking, or facing a disaster scenario, knowing how to improvise a stove can make all the difference in staying nourished and safe.
The Importance of an Emergency Stove
When faced with unexpected situations where access to conventional cooking methods is limited or nonexistent, an emergency stove can be a lifesaver. Whether you need to boil water for purification, cook food for sustenance, or simply warm yourself on a chilly night, having a makeshift stove can provide a sense of security and comfort in uncertain times.
These little DIY stoves are also great for backcountry cooking! As they are portable, easy-to-make, and versatile.
With a little ingenuity and resourcefulness, everyday items can be repurposed to create a functional cooking device, ensuring that you can meet your basic needs even in the most challenging circumstances.
Materials for Building an Emergency Stove
Creating an emergency stove doesn’t require specialized equipment or advanced skills. In fact, you can make a simple yet effective stove using just a few basic materials:
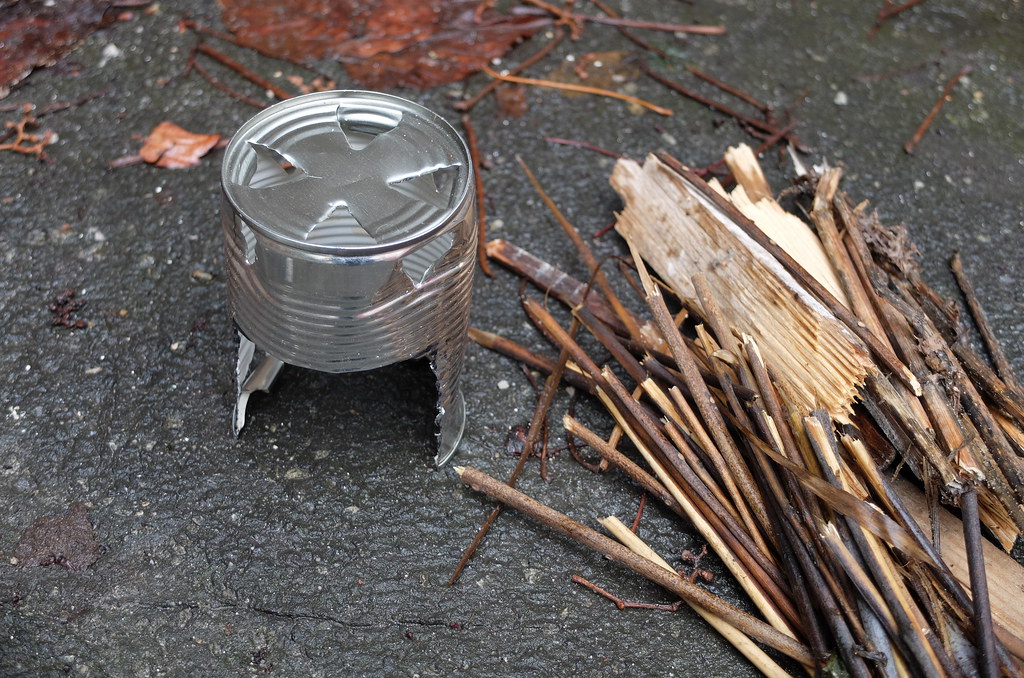
Tin Can: An empty tin can, such as a coffee can or soup can, serves as the foundation for your emergency stove. Choose a can with a wide opening and remove any labels or sharp edges.
Fuel Source: Common fuel sources for emergency stoves include alcohol, solid fuel tablets, or even natural materials like twigs or pine cones. Choose a fuel source that is readily available in your environment and suitable for your cooking needs.
Recommended fuel source: Procamptek Fire Plugs Waterproof Fire Starters
Punch Tool: To create ventilation holes in the tin can, you’ll need a punch tool or a sturdy nail and hammer. These holes will allow air to flow into the stove, facilitating combustion and efficient burning of the fuel.
Lighter or Matches: Finally, you’ll need a reliable means of ignition to start your emergency stove. Carry a lighter or waterproof matches in your emergency kit to ensure you can start a fire when needed.
Building Your Emergency Stove
Once you’ve gathered your materials, it’s time to assemble your emergency stove:
Step One: Prepare the Tin Can
Using your punch tool or nail, carefully create several small ventilation holes around the bottom edge of the tin can. These holes should be evenly spaced and large enough to allow air to flow into the stove.
Step Two: Add the Fuel
Place your chosen fuel source in the bottom of the tin can, ensuring that it is stable and evenly distributed. If using alcohol or solid fuel tablets, follow the manufacturer’s instructions for safe use.
Step Three: Ignite the Fuel
Use your lighter or matches to ignite the fuel in the tin can. Be cautious when lighting the stove, as the flames may flare up initially.
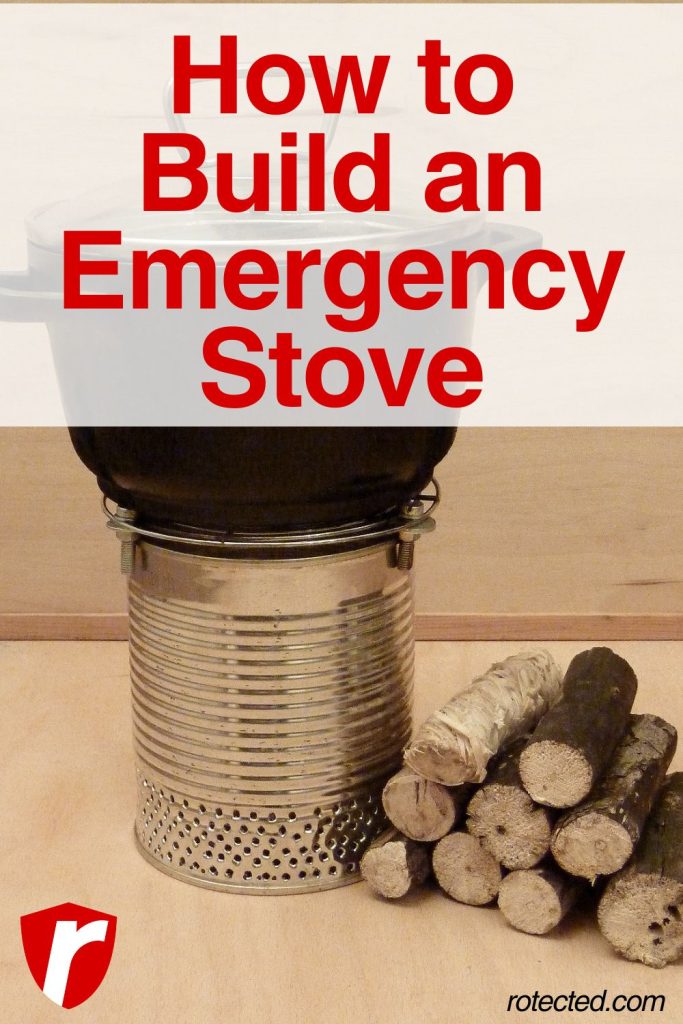
Step Four: Place Cooking Pot
Once the flames have stabilized, place your cooking pot or container on top of the tin can. Adjust the position of the pot as needed to ensure it sits securely on the stove.
Tips for Using Your Emergency Stove
Safety First: Always exercise caution when using an emergency stove, especially in outdoor environments where fire hazards may be present. Keep a safe distance from flammable materials and never leave the stove unattended while in use.
Efficient Fuel Use: To conserve fuel and prolong the burning time of your emergency stove, use a windscreen or improvised heat reflector to focus the heat onto your cooking pot.
Practice Makes Perfect: Before relying on your emergency stove in a real-life situation, take the time to practice using it in a controlled environment. Experiment with different fuel sources and cooking methods to familiarize yourself with its capabilities and limitations.
Conclusion
In times of crisis or unexpected situations, having the ability to cook food can be a game-changer for survival. By learning how to make an emergency stove using simple materials, you can ensure that you’re prepared to meet your basic needs no matter where you find yourself.
Whether you’re camping in the wilderness or facing a disaster scenario at home, knowing how to improvise a stove from scratch can provide a sense of security and self-reliance in uncertain times. With the knowledge and skills gained from this guide, you’ll be better equipped to handle whatever challenges come your way and stay nourished and safe in any situation.