Canning dry beans is a tried-and-true method for extending their shelf life and ensuring they’re readily available for delicious meals whenever needed. Whether you’re a seasoned canner or a beginner looking to delve into the world of food preservation, learning how to can and preserve dry beans is a valuable skill that can save time and money in the long run.

Canning dry beans is not only a convenient way to store this versatile pantry staple but also a fantastic way to reduce food waste and ensure you always have a nutritious ingredient on hand. From hearty soups and stews to satisfying salads and side dishes, canned dry beans offer endless possibilities for tasty and wholesome meals.
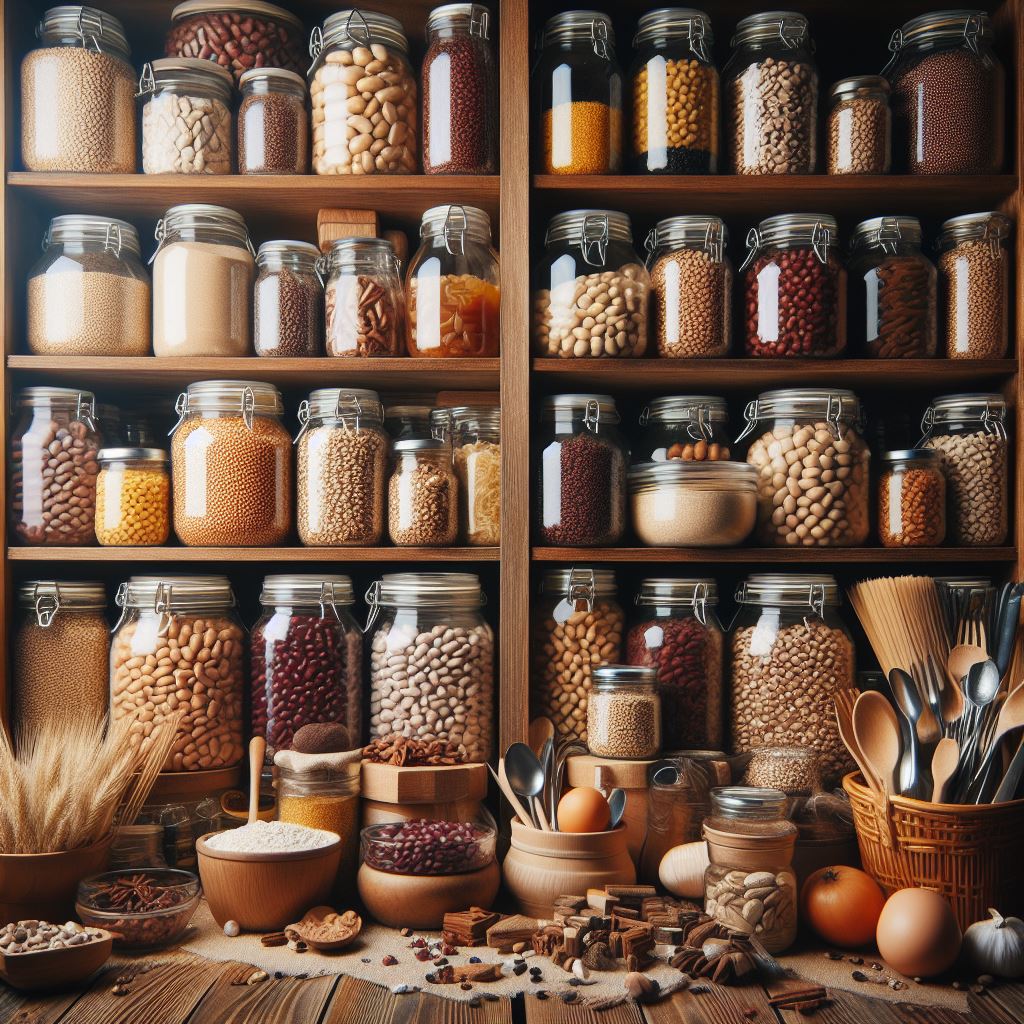
What You Need To Get Started
To get started with canning and preserving dry beans, you’ll need a few essential supplies, including:
- Dry beans of your choice (such as black beans, kidney beans, or chickpeas)
- Mason jars with lids and bands
- Pressure canner
- Canning salt (optional)
- Water
Step-by-Step Guide
Once you’ve gathered your supplies, follow these simple steps to can and preserve dry beans:
- Prepare the Dry Beans: Begin by sorting through the dry beans, discarding any damaged or discolored beans, and rinsing them thoroughly under cold water. Then, soak the beans overnight in a large bowl of water to soften them and reduce cooking time.
- Cook the Dry Beans: After soaking, drain and rinse the beans again before transferring them to a large pot. Cover the beans with fresh water, bring to a boil, then reduce the heat and simmer for about 30 minutes or until the beans are tender but not mushy.
- Pack the Mason Jars: While the beans are cooking, prepare your mason jars by washing them in hot, soapy water and inspecting them for any cracks or defects. Once the beans are cooked, carefully ladle them into the clean jars, leaving about an inch of headspace at the top.
- Add Salt (Optional): If desired, you can add a teaspoon of canning salt to each jar before sealing. This helps enhance the flavor of the beans and preserve their texture during the canning process.
- Seal the Jars: Wipe the rims of the jars with a clean, damp cloth to remove any food particles or residue. Place the lids and bands on the jars, ensuring they are tightened securely but not too tight.
- Process the Jars: Place the filled jars in a pressure canner filled with hot water, following the manufacturer’s instructions for your specific canner model. Process the jars at the appropriate pressure and time recommended for canning dry beans (typically around 10-15 pounds of pressure for 75-90 minutes).
- Cool and Store: Once the processing time is complete, turn off the heat and allow the pressure canner to cool naturally. Carefully remove the jars from the canner using jar lifters and place them on a clean, dry towel to cool completely.
- Check the Seals: After the jars have cooled, check the seals by pressing down on the center of each lid. If the lid doesn’t flex or pop, the jar is properly sealed. Label the jars with the date and contents, then store them in a cool, dark place for up to 1 year.
Now You Know How to Can Dry Beans Like a Pro!
That’s it! Simply follow these straightforward steps to easily can and preserve dry beans like a professional! Mastering this skill opens up a world of culinary possibilities and practical benefits. From convenient meal prep solutions to emergency pantry essentials, canned dry beans are a versatile ingredient that can enhance any kitchen.
Moreover, by utilizing #10 cans, you can optimize your storage space and ensure long-term freshness for your preserved beans. Consider exploring our article on #10 cans to learn more about the benefits of this storage solution and how it complements your efforts in preserving dry beans.